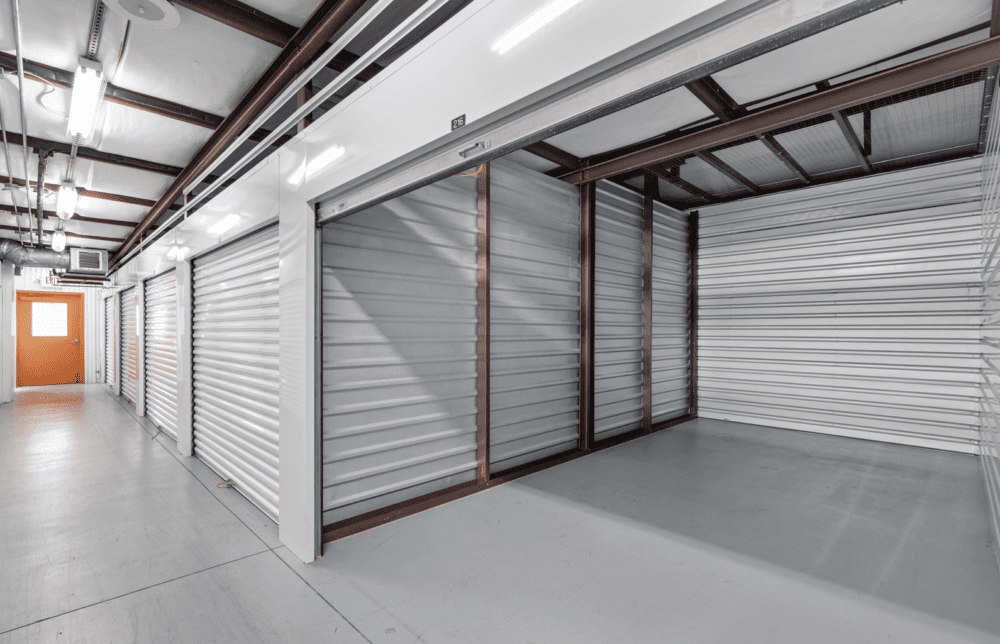
There’s nothing more frustrating than not being able to find something when you need it. This can be compounded when it comes to your storage unit, which, if not properly maintained from the first day, can start to look like a dumping ground for all of your not-for-everyday-use things.
But don’t despair! Getting your storage unit cleaned up and reorganized isn’t a futile project — with the right plan, and a little elbow grease, you’ll be able to find everything you need at a moment’s notice. Here are a few tips to get you started.

Step One: Get Your Game Plan Going
One look in your overflowing storage unit and you might be ready to run for the hills! But it’s time to make a game plan for the best way to tackle things little by little.
First, set a timeline for this project. Can you dedicate a few hours, a few days, or work on things over the next month? Once you’ve set a self-imposed deadline, it’s time to take stock of everything in the unit.
If it helps, write down a list of the things in the unit and categorize them visually so you can group like items as you go through each area. Breaking it down into smaller sections will help it to feel less overwhelming and will also help you to find things more easily.
Once your game plan is set, pick an area and get started!
Step Two: Lighten the Load
Make four individual piles and label them as donations, keep, throw away, and sell.
Try to take any obvious trash out of the unit first to free up some room right from the start. Then, go section by section and put each thing in one of the piles. Once you’ve finished this first area, go back to the “Keep” pile and move it into the spot you freed up. Don’t worry about organizing it yet! That comes later.
For now, focus on getting anything that isn’t going to stay in the unit out of the way. It will either head for the dumpster or may move into your vehicle temporarily until you can sell or donate the items.
Step Three: Don’t Be Afraid to Ask for Help
If things are getting a little too difficult to handle solo, it might be time to phone a friend. This is especially helpful if that friend has a larger vehicle that can help haul away anything you’re not keeping in the storage unit.
Involving other people is a great tool for motivation, as it makes you accountable for getting the job done and forces you to work within a specified timeline. Put on some music, roll up your sleeves, and get to work! You and your friend(s) can look forward to celebrating when the job is completed!
Step Four: Focus on the Floors
A tip that will help you to avoid overwhelm and will also allow you to find room to move around in the storage space is to continually keep the floors clean. Push boxes and furniture to the outer walls of the unit so you can access the area without any tripping hazards.
Once an area has been cleared, take a broom and sweep the area clean. Do this incrementally around the unit so that by the end of this project the entire room has been cleaned from the ground, up! Use other cleaning supplies as needed.
Remember, the cleaner the space is, the better kept your possessions will be while in storage.
Step Five: Properly Label and Reorganize the Whole Unit
Now that you’ve discarded and removed anything that isn’t going to be housed in storage any longer and you’ve cleaned the floors, it’s time to move things back in the right way this time.
If you have loose items, it’s time to invest in clear bins and totes. This will allow you to easily see what’s inside each box without needing to open and dig through things. For existing boxes, make sure they’re properly labeled on the top and sides of the box for quick identification.
Group like items in the same area and designate specific “zones” for each. Here are some ideas for categorizing what goes in each “zone”:
- The room or area it would live in if it were in your home or office
- The type of product it is (i.e. electronic device, piece of furniture, clothing item, etc.)
- The level of importance the item holds (i.e. you will use it more or less often in the future, seasonality, etc.)
For larger things, like furniture, you also want to make sure it’s been wiped down and stored properly. Here are some tips and tricks for keeping your nice furniture in the best condition possible.
It’s best practice to put the heaviest items in the rearmost part of the storage unit so they are out of the way when you move other things around. However, if you plan to take these things out sooner than others (such as patio furniture or other seasonal items), just find a spot off to the side that’s still somewhat easy to access.
If you have time (and artistic ability), it might be beneficial to sketch out a rough map of the unit. Don’t go too crazy — just make a reference guide for what is where in the unit. That way you can refer to it when you’re not sure about the location of one or two things!
Let Morningstar Storage Help You Stay Organized
With over 80 locations spread all across the States, Morningstar Storage’s dedicated team is ready to address any questions you might have about optimizing your self-storage space. From climate-controlled storage units, easily-accessible storage spaces with same floor or elevator-friendly access, to free rental moving trucks, 24/7 unit access, and an experienced team always ready to lend a hand, we’re here to help you make the best decision about where and how to best store your stuff.

